
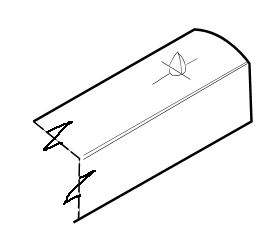
An as-bought conical gauge point filed to make a cutting point.
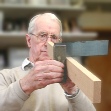
For many years I've been using two main gauges, one with a point filed one side and the other on the other side. I marked the end of the stem of one with a bit of inserted plastic knitting needle so that I can easily tell which is which. (Actually, having more than two can be very convenient for some complicated jobs).
For dimensioning timber, one uses the gauge as shown, but for marking say, a rebate cut into a face side or edge), one uses the second type. The principle is that the sloping side goes in the waste.
Avoid conical points because they compress and burnish the arrises.
The knife edges leave cut lines with square arrises. They will cut cleanly across the grain, so you do not need a cutting gauge, few of which when new are well made.
Gauge points need project no more than about 1/16" (1.5mm) from the stem.
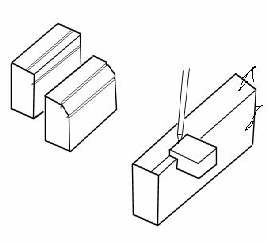
Never gauge chamfers with a pointed gauge. If you want to know why, just try it on a piece of scrap! If you haven't the time, the left-most drawing shows what happens.
Use a Button Gauge instead. Also see the pencil gauge below.
When working across end-grain it can sometimes pay to treat the gauge the same way as a plane, ie start by pushing, and end by pulling backwards and so prevent breakout at the end of the line. Likewise when marking across the grain.
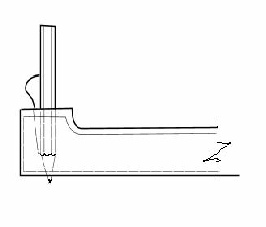
A Pencil Gauge, useful for chamfers, (amongst other things).
The point needs to project very slightly, so to ensure that the wedge gets a good grip on the pencil, thicken the stem with a glued-on block.
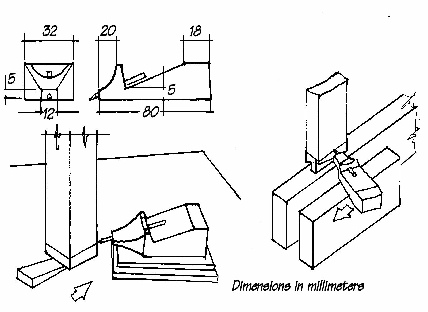
This shows a pattern maker's 'Mouse' that at times can be an extremely addition to your toolkit.
The lower left-hand drawing shows its use in scribing the end of a table leg, all four legs being set up on a flat surface.
To check for twist, stretch two threads diagonally between the legs of the upturned table. There should be no gap where they cross.
The right-hand drawing shows how to correct a wonky tenon shoulder.
Get a good clean cut by 'trailing' the point.
