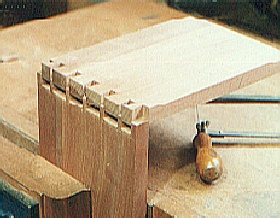
Tails-firsters cut the tails, which form the sockets for the pins.
The pins are then marked directly by scribing inside the pin sockets.
Since so many things can go wrong when scribing the pins from the tails, use a ruler to aid registration.
One trick to get a good fit is to put the ruler's edge a gnat's whisker's distance below the line.
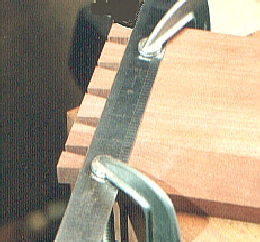
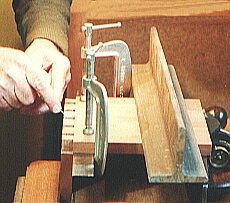
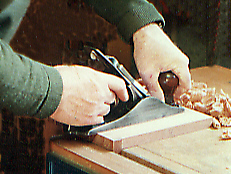
This practice joint is supported by the jack plane and held in place by a weight. The rule gets the alignment right.
Ensure that the face edges align properly.
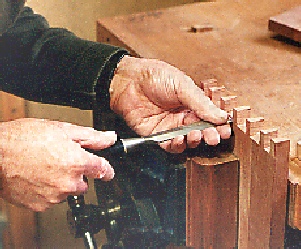
Here an awl is used for scribing. Some people make a slim knife from an old hacksaw blade.
Since there is more wood to remove, the mallet will probably be necessary now.
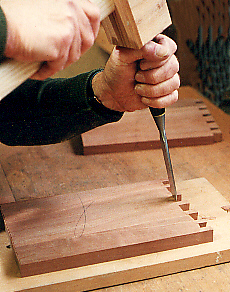
As with the pin sockets, start paring at the hump formed by the above sloping cuts and level the tail socket floors.
If you must undercut, only undercut the central area. Leave a generous land on each surface, especially the outer surface which will be affected by the plane when the job is cleaned up.
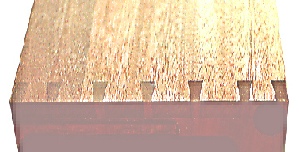
Before attempting a trial fit, chamfer the underside of the sockets as shown.
This should be the face side. Think twice!
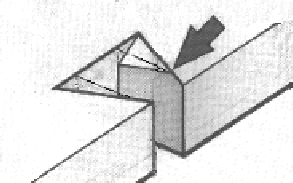
Because it would show, the front corner (arrowed) is not chamfered.
If these arises are left square, as the sharp arises of the pins drive into the socket, the top edges can crumble and be carried into the socket with the pins.
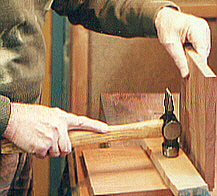
Burnishing and compressing the pins is not really very good for adhesion, so gingerly mate the two parts down about a third of the final depth. Well, that's the theory!
Take care to use a batten under the hammer.
The drawing shows what can happen.

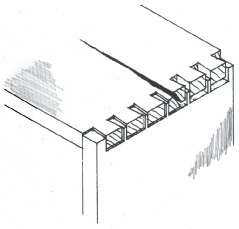
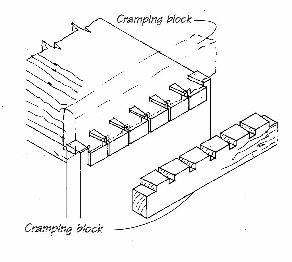
If you leave waste on the ends of the boards, you’ll need to use a notched batten to apply the closing force in the right places.
This is the stage at which very slender pins risk being uprooted.
Avoid separating the parts by waggling them. Use a batten instead.
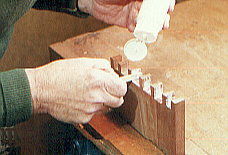
If an upside-down shampoo bottle is used, the glue will always be at the nozzle end.
An ice lolly stick makes an adequate spreader.
If there are several joints to be glued, recruit a second pair of hands.
Once the joints are fully home, remove the surplus glue. The water will do wonders for the fit of a good joint, though much less if there are considerable gaps.
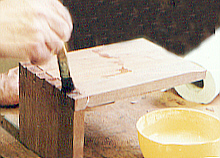
Cleaning up with a finely-set smoothing plane.
For stripey mahogany like this you need a very fine shaving aperture.
A good-quality standard production plane, tuned-up with a bit of tender loving care is all you need to produce a tear-free finish.