
Check the socket floors. Ensure that they are not hump-backed and are square to the face side.
If you undercut, only undercut the central half of the floor.
Leave a generous land on each surface, especially the outer surface which will be affected by the plane when the job is cleaned up.
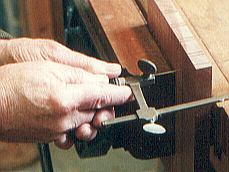
An engineer's square makes the job a bit easier.
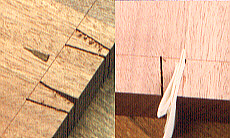
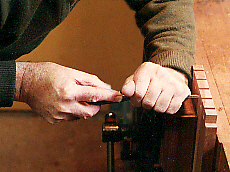
As the kerfs were cut, a small shake in the end grain caused this chip to fall away. Since this was so tiny, it was glued with a water-soluble adhesive to a slip of paper. Superglue was applied to the side of the kerf. The paper was easily manipulated into place.
The paper was torn away and finally removed after the socket was opened.
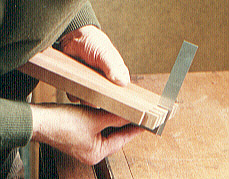
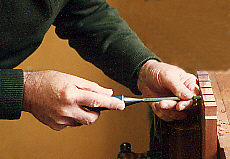
Note the correct grip on this jeweller's saw. It has been fitted with a coarse fretsaw blade. A coping saw will serve almost as well, though the set can be a little thick for some dovetail saw kerfs.
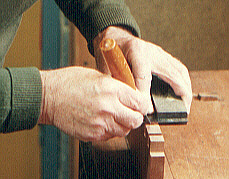
Finish this stage by paring with a bevelled edge firmer chisel
Some people prefer just to chop out the waste, though this can sometime lead to voids in areas if the socket floors. Providing that these are in the central area of the floors, it usually doesn't matter very much. However, if the sides of the job have to be shaped extensively, it can matter if your plane eventually reveals the voids.
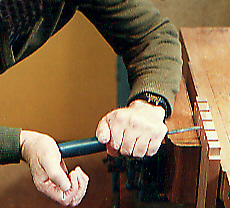
Working from each side and starting just below the sawcut, gradually work down to the knife/gauge line.
A thump from the butt of the hand is often sufficient, but a mallet might sometimes be necessary.
Note how the guiding arm is supported by the generously-broad vice clamp.
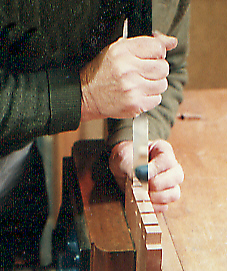
With the chisel horizontal, and also working from each side, start the chisel on the crown of the hump you have formed. gradually work down to the knife line.
The change of grip indicates a more delicate action for the final levelling.
If you do decide to undercut the socket floor, only undercut the central area.
Ready for the final stroke or two, the chisel tip is just resting on thewitness markleft by the knife line.
The left hand is now on the vice top.
Note: If the flanks of the pin sockets are not parallel and square to the face side, an ill-fitting joint looms ahead. Whenever tweaking a cut, try to tweak to a definite line. Just blindly fiddling and faffing will often make things worse.
A tweaking tip: If at either at the sawing stage or this stage, you make the sockets ever, ever, ever so slightly narrower on the outside of the job, you'll have a nice tight fit.
If you overdo it you’ll make a joint that is far too tight. The taper is in the order of half a gnat's whisker.
Some canny vertical paring will be needed. A good reason for not having the pins too slender.
If they are too slender, you won't be able to get the chisel into the space..
A proper paring chisel (thinner than the bevelled edge firmer chisel in use) will be ideal for this job.