
This board is intended for people who have limited need of specialised boards, though they may soon wish that they have at least a plain board and a mitre board…
It can be difficult to accurately plane a square edge on thin stuff. The 'freehand' way is described atHow To Plane A Square Edge.
You can shoot an edge simply by raising the workpiece by inserting a packing piece between it and a flat and smooth bench top. Rest the end of the board against the bench stop and run the plane on the bench top.
Sometimes one can simply use the bench hook (sawing board) with the workpiece against the fence and the plane lying on its side on the bench top. The size of work is, of course limited by the dimensions of the bench hook. The results are hardly likely to be terribly accurate however. This is what gave me the idea for theRamped Shooting Board.
Shooting boards are really most suitable for material, say up to 25mm or so in thickness, but the limits will actually depend on the hardness of the wood and the user's muscle power. When panel jointing, although the guidance offered by the long edge of the main board can be a great help, there is no guarantee that it will be entirely sufficient. It might be necessary to do some trimming (still using the board) after the pair of boards are first tried together. Consult the link for some further advice about panel jointing:Rub Jointing.
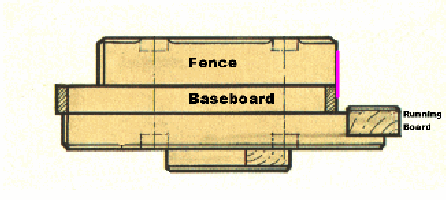
Exact working can depend on measurements and cuts being made with reference to datum faces, usually called Face Sides and Face Edges. This is why the fence should ideally be fixed midships, though for most of the time we can manage quite well at the traditional location as in the first pic below.
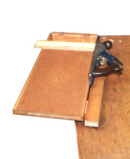
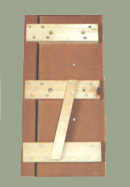
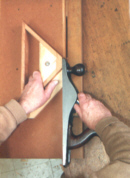

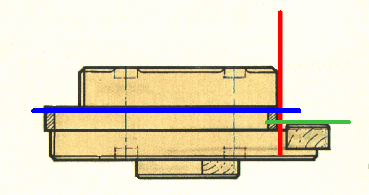
The fence is made of such a height that it is level with the upper flank of the plane. The upper lateral margin will prevent the plane from being rotated anti-clockwise (as so easily can happen).
Because it is rather high, watch that your thumb does not catch the top of the fence.
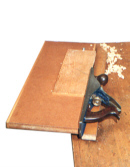
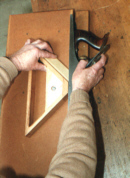
When panel jointing stuff whose ends are not yet squared, the fence can be inconvenient - it tends to pull the edge to an awkward angle. A single stop of some kind is more convenient, but the anti-twist feature is lost.
This board is rather heavy. For a lightweight board for shooting ends and short edges, go to:A Ramped Shooting Board.